Viscounts of the West Kingdom - A Solo Review
16 May 2022, reviewed by Kristof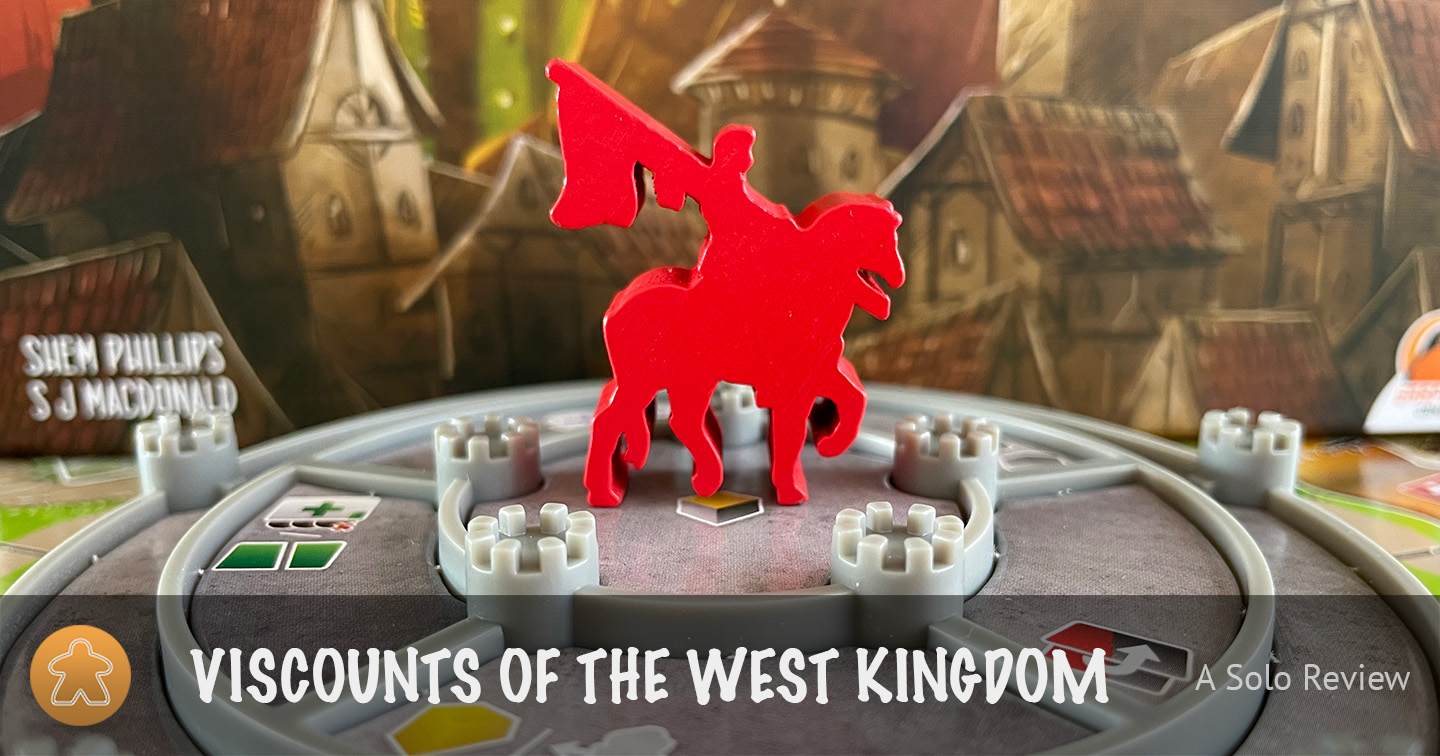
The people are starting to lose faith in the king ever since his actions caused the kingdom to slowly collapse into poverty. As one of his trusted viscounts, you might go down with the king in case a shift in power ever occurs. You can’t let that happen now, can you? You want to gain favor with the people in case someone else takes over the reigns, but you also want to keep showing loyalty to the king in case he manages to stay in power after all. Will you succeed in preparing for whatever comes?
Name: Viscounts of the West Kingdom
Designer: Shem Phillips and S.J. Macdonald
Publisher: Garphill Games
Game type: rondel, deck building, set collection, area majority
What is Viscounts of the West Kingdom?
Viscounts of the West Kingdom is the third and final game in the West Kingdom series. In the first game, Architects of the West Kingdom, we tried to impress the king and gain influence with him by helping him build up his newly appointed domain. In Paladins of the West Kingdom, the second game, we tried to secure the newly established kingdom by protecting it from attacks from outsiders; either by force or by spreading faith and converting them.
Viscounts takes place about 80 years after Paladins. In order to keep his kingdom safe and establish peace, the king started offering the enemies gold and land to lay down their weapons. Because of this spending spree, poverty spread and people started to lose their faith in the king. We are viscounts who have enjoyed favor with the king, but by being associated with the king, our future has also become uncertain. We have to be prepared for a shift in power by finding favor among the people while still staying loyal to the king.
In the game you will be moving your viscount around a modular rondel board (the kingdom), taking an action on the space where you end your movement: constructing buildings, transcribing manuscripts, working in the castle or trading. How far you can move your viscount, which actions you can take and how strong these actions are, depends on the three cards on your player board. At the start of your turn the rightmost card slides off into you discard pile, the other two move to the right and you can play a card from your hand into the left most spot. By acquiring new cards and removing cards you don’t need anymore you can tailor your deck to specialize in certain actions and follow a specific strategy.
Much like in Architects and Paladins, virtue and corruption play an important part in Viscounts as well. Various actions allow you gain either a debt or a deed. The game ends one round after either the stack of debts or deeds run out.
At the end of the game you gain points for constructed buildings, transcribed manuscripts, your people in the castle and acquired debts and deeds.
How does it play?
Before you start the game, you first have to assemble the round modular game board. You take the five board segments, shuffle them up and place them together in a random order. Then you add the castle in the middle. This keeps the segments together.
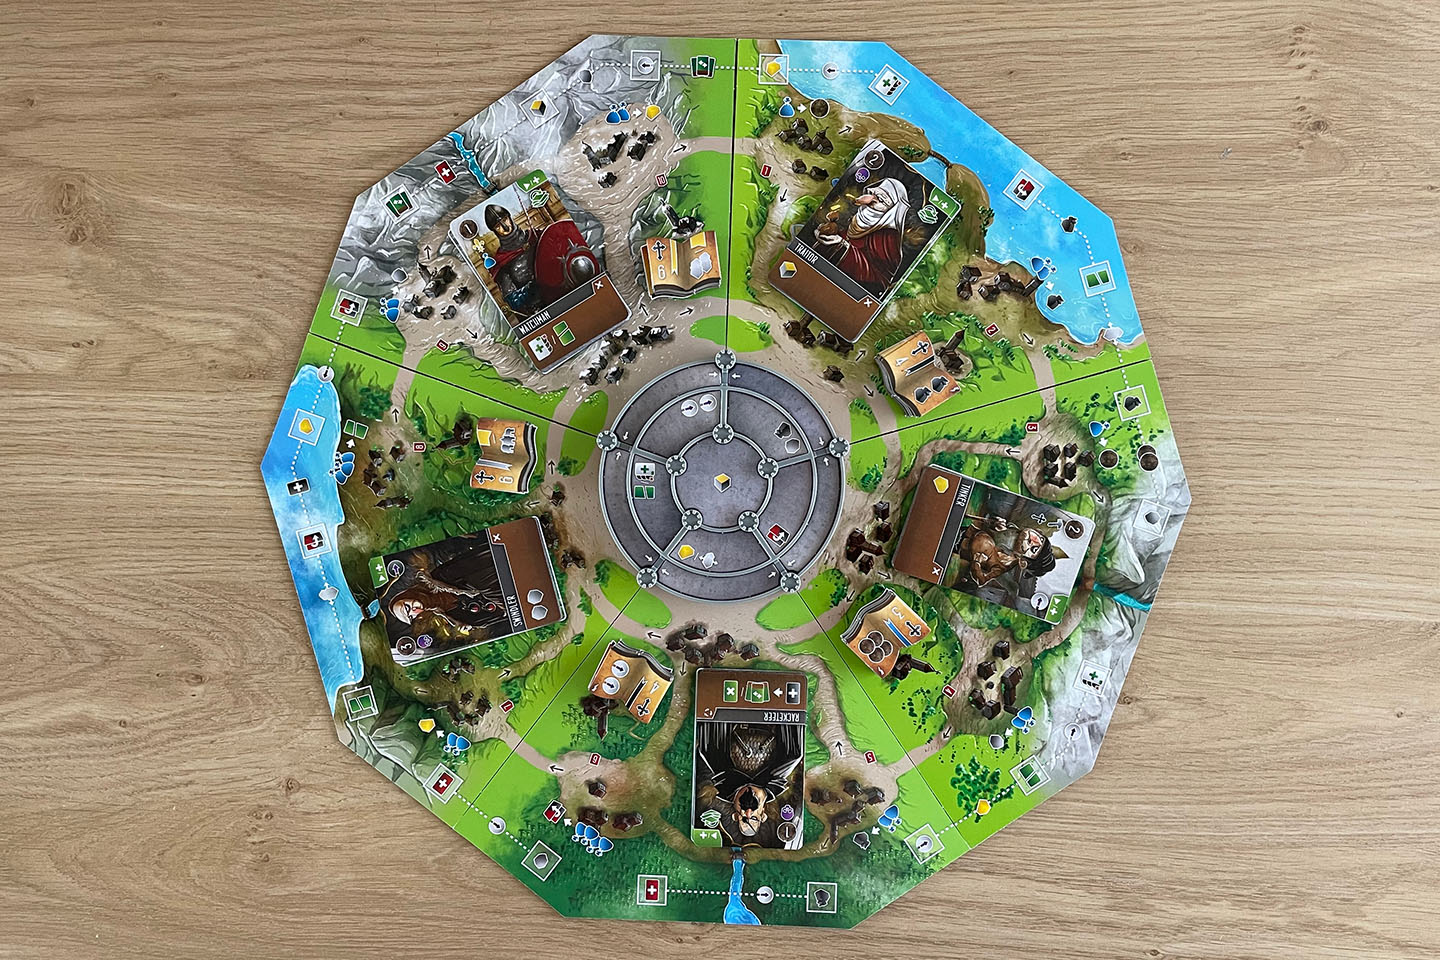
Next you shuffle the big stack of townsfolk cards, divide it into five smaller stacks and put one face up on each segment of the board. You do the same with the manuscript tiles.
You take two random hero townsfolk cards, two random player cards, you pair them up and choose one pair. The hero townsfolk card goes into your deck of eight starting townsfolk cards while the player card determines on which space on the board your viscount starts and what you receive at the start of the game. This can be a combination of coins, resources, debts, deeds, a free build action, …
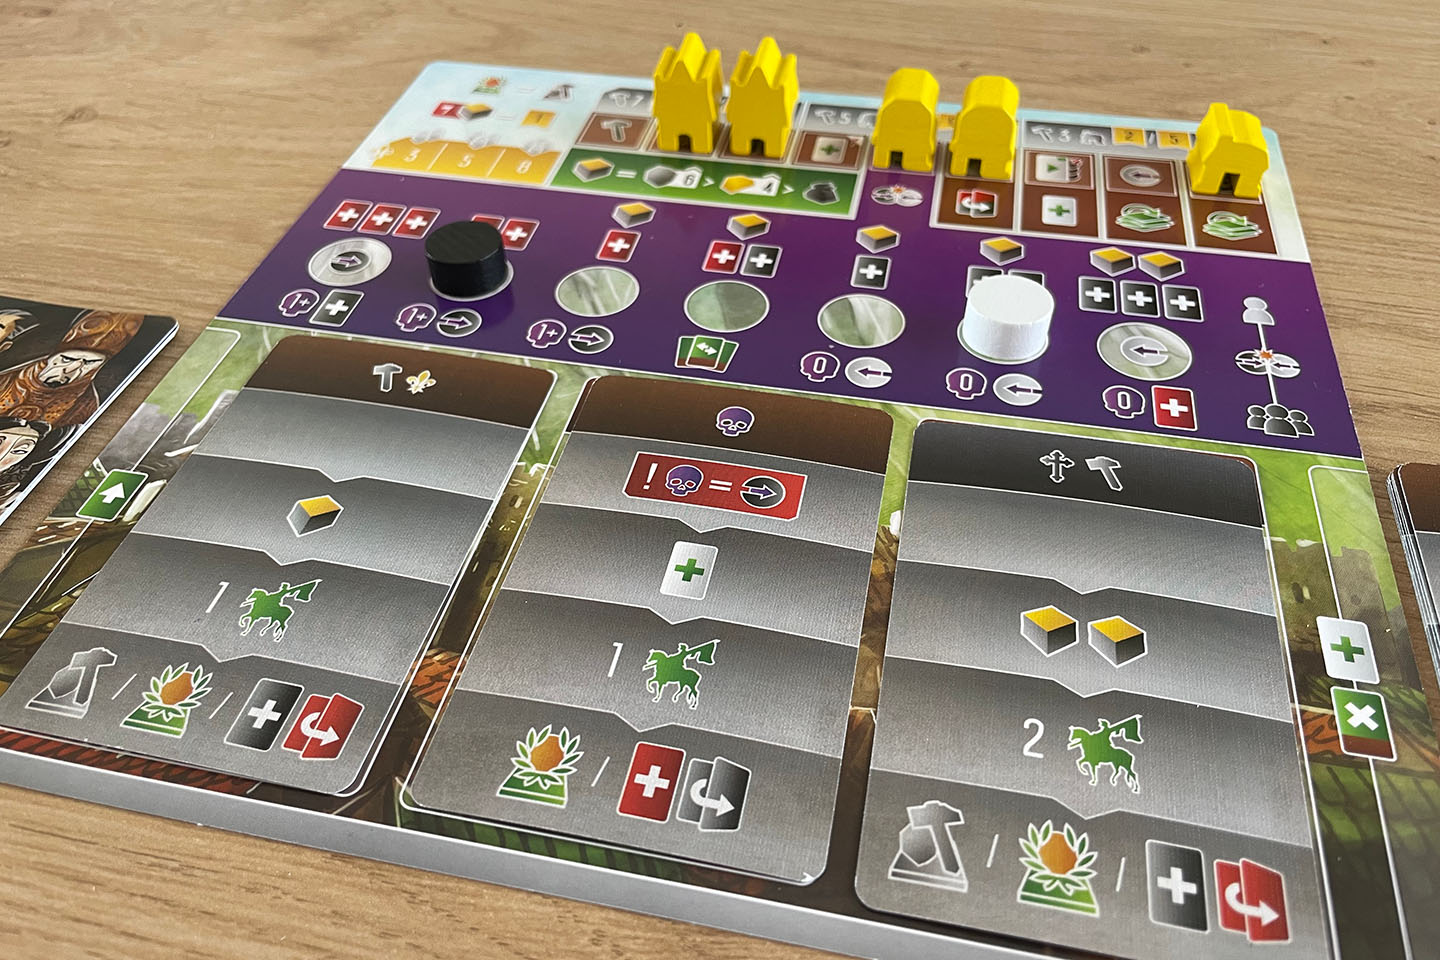
You also get a player board on which you place your nine buildings (three trading posts, three guildhalls and three workshops). Your player board also has room for three cards, but starts empty.
You draw a hand of three cards from your starting deck, which consists of the eight starting townsfolk cards and the hero townsfolk card. We’re ready to start the game!
At the start of every turn you slide all cards on your player board one space to the left. (Since you start the game without cards on your board, you can skip this step in your very first turn.) If this causes a card to drop off the right side of your board, you place that card in your discard pile.
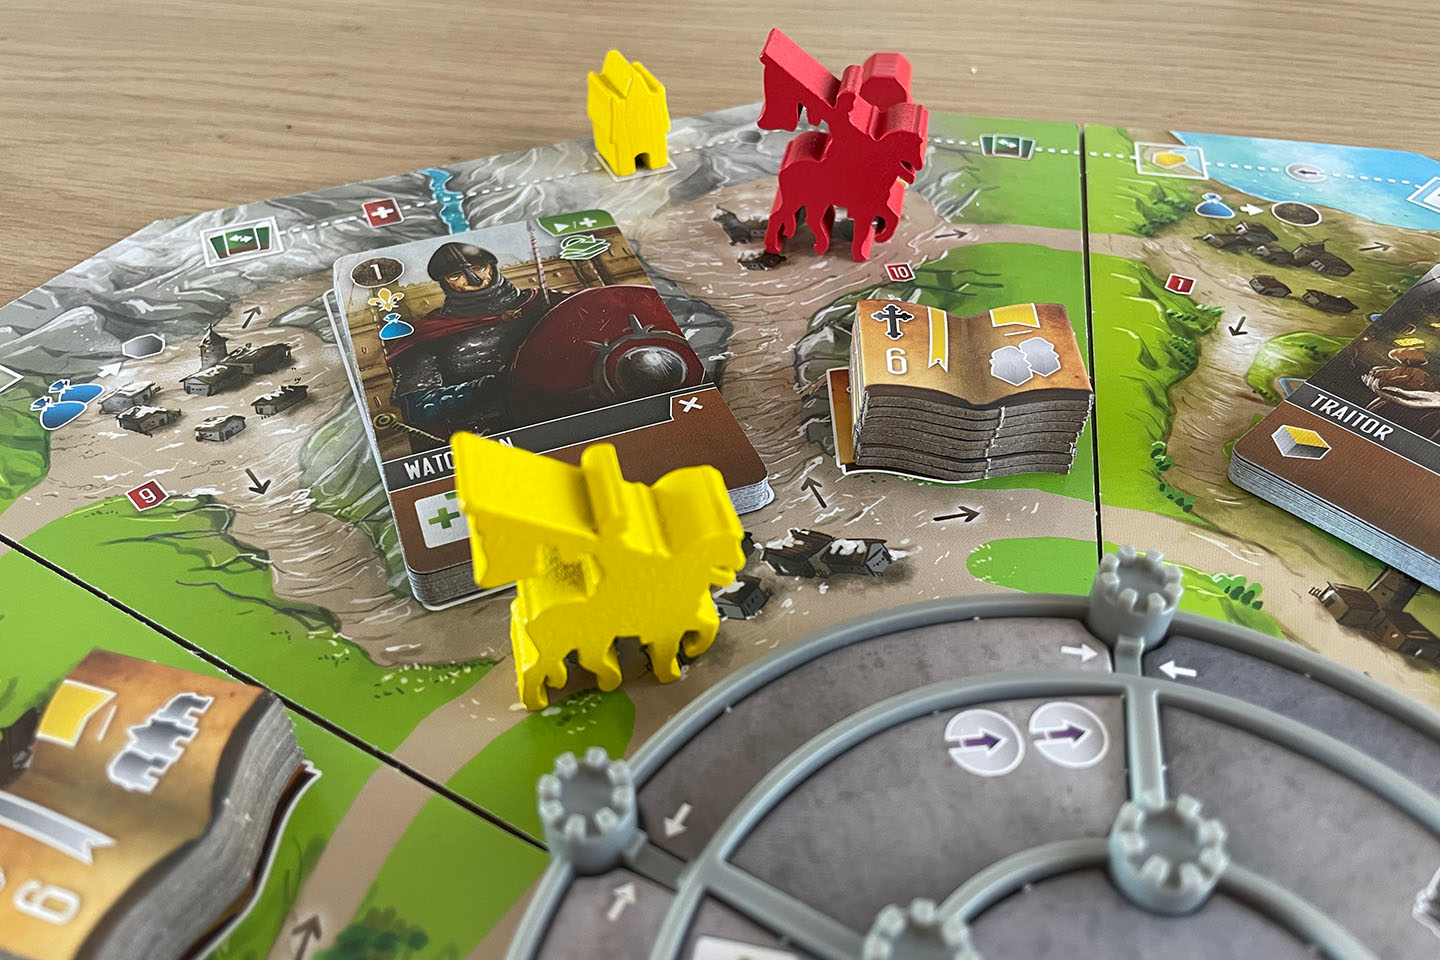
Once that’s done, you take one card from your hand and you place it on the leftmost spot on your player board. The value in the top left of that card determines how many spaces along the board you have to move your viscount. You have to move clockwise, but you can follow routes from the outer path on the board to the inner path and vice versa. The place where you end up on the board determines which action you get to take: on the inner path you can transcribe manuscripts and work in the castle, on the outer path you can trade and construct buildings.
Every action you can do requires a specific type of icons on the cards on your player board. I’ll briefly go over the different actions and explain how the amount of icons influences the action.
- Trading. For this action you count the blue blag icons on your player board. Every spot on the outer path of the game board has its own trading action. There are spots that let you take one coin for every blue bag you have. Other spots let you take a specific resource (ink wells, gold or stone) for every two blue bags you have. There are various other trade actions, each with their own required number of blue bags.
- Constructing buildings. This is another action that can only be done on the outer path on the game board. Alongside that outer path are places where you can construct a building. Constructing a building means moving a building from your player board to a building spot on the game board where your viscount is located. Every type of building requires a certain amount of builder icons on your player board for it to be constructed. Constructing a building gives you two different benefits. On the one hand you get the reward indicated on the spot where you construct your building. This can be a resource, flipping a debt or deed, gaining a virtue, … On the other hand you also get the benefit printed on your player board where you took the building from. This can be a permanent icon for one of the actions, an increase in hand size, a triggered ability (do X when Y happens), … At the end of the game the more buildings of a type you have built, the more points you get.
- Transcribing a manuscript. This is one of the actions that can only be done on the inner path. To do this action you look at the stack of manuscripts on the segment your viscount is located. Every manuscript has a cost printed on it which corresponds to the amount of cleric icons you need to have on your player board to be able to transcribe the manuscript. Transcribing means taking the manuscript and adding it to your personal collection. Some manuscripts give an immediate reward, like gaining resources, while others score you points at the end of the game, like one point per flipped debt. There’s also the matter of collecting different colors of manuscripts. Each manuscript has a blue, yellow, white or black ribbon. At the end of the game you get points for each set of manuscripts with a different color and whoever is the first player to get three manuscripts in the same color gets the cleric bonus for that color. Such a card is worth three points, but it also shows one or more icons that count when doing actions. For example, the bonus card you get for three blue manuscripts shows two blue bag icons which count during the trade action.
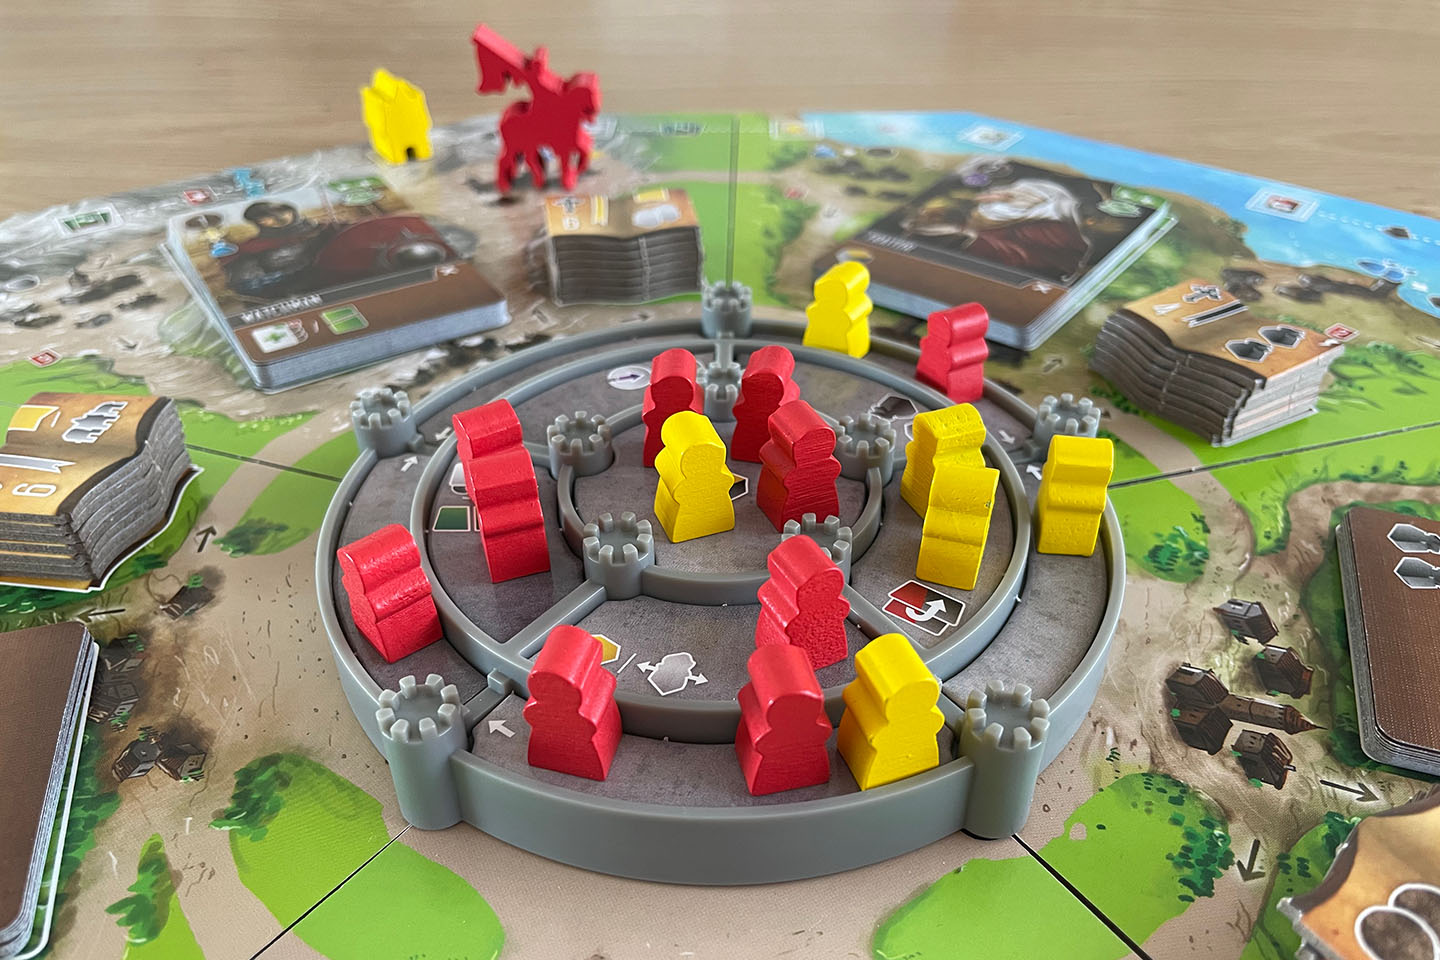
- Placing workers in the castle. Like transcribing manuscripts, this can only be done on the inner path. When taking this action you get to place 1, 2, 3 or 4 of your workers on the lower tier of the castle where your viscount is located. The amount of noble symbols on your player board determines how many workers you get to place. Placing workers on the lower tier gives you no benefit. But whenever there are three or more of your workers in the same area of a tier, you get to do what I call the castle dance: you need to move three workers from that area. One needs to go to the left, one to the right and one needs to go one tier up. Whenever a worker makes it to the second tier, you get the benefit printed on that area. When you have moved your three workers, you check if this dance caused you to have three workers in a different area. If that’s case, you do another dance. When all the dancing is done, you proceed to the bumping ceremony. If there are more than three workers in total in the same area, you have to bump one off the castle. This can be someone else’s worker, but it can also be your own. Either way, the owner of the worker gets compensated for this, depending on the tier the worker got bumped off of. Whoever has the most workers in the top tier gets a bonus card that increases your hand size by one and gives five points at the end of the game. At the end of the game, each worker is also worth as many points as its tier in the castle.

When taking an action, you are not completely limited by the relevant icons on your player board. There are two ways you can compensate for missing icons you would need. The first way is by paying coins or resources. When trading, each coin you spend counts as one blue bag icon. The same goes for the three resources: stone for constructing buildings, ink wells for transcribing manuscripts and gold for placing workers in the castle. The other way is by dismissing a townsfolk card from the segment of the board where you are taking the action. If the top card of the stack of cards has one or more icons that match the action you are taking, you can pay the cost indicated on the card to remove the card from the game and then you can use those icons for your action.
After you have taken your action you get the option to purchase the top townsfolk card of the segment your viscount is on. Simply pay the cost indicated in the top left and add the card to your discard pile. An interesting addition here is that cards also have an icon in the top right. Whenever you buy a card or dismiss one when doing your action, you have to perform the action corresponding to that icon. This could be rearranging the three cards on your player board in any order you like, moving your virtue or corruption marker, taking an extra townsfolk card for free, …
There are also actions that let you “destroy” a townsfolk card from your hand. Destroying a card means removing it from the game. Together with the different ways to gain new townsfolk cards, this is good way to trim and tune your deck for the strategy you are pursuing.
Another thing the cards on your board do is trigger effects when something happens. Some cards have an effect that triggers when you play them to your board, like getting a resource. Some have an effect that triggers when they drop off your board, like getting a townsfolk card for free. Some cards have an ongoing effect as long as they are on your player board, like getting a coin whenever you take the trade action.

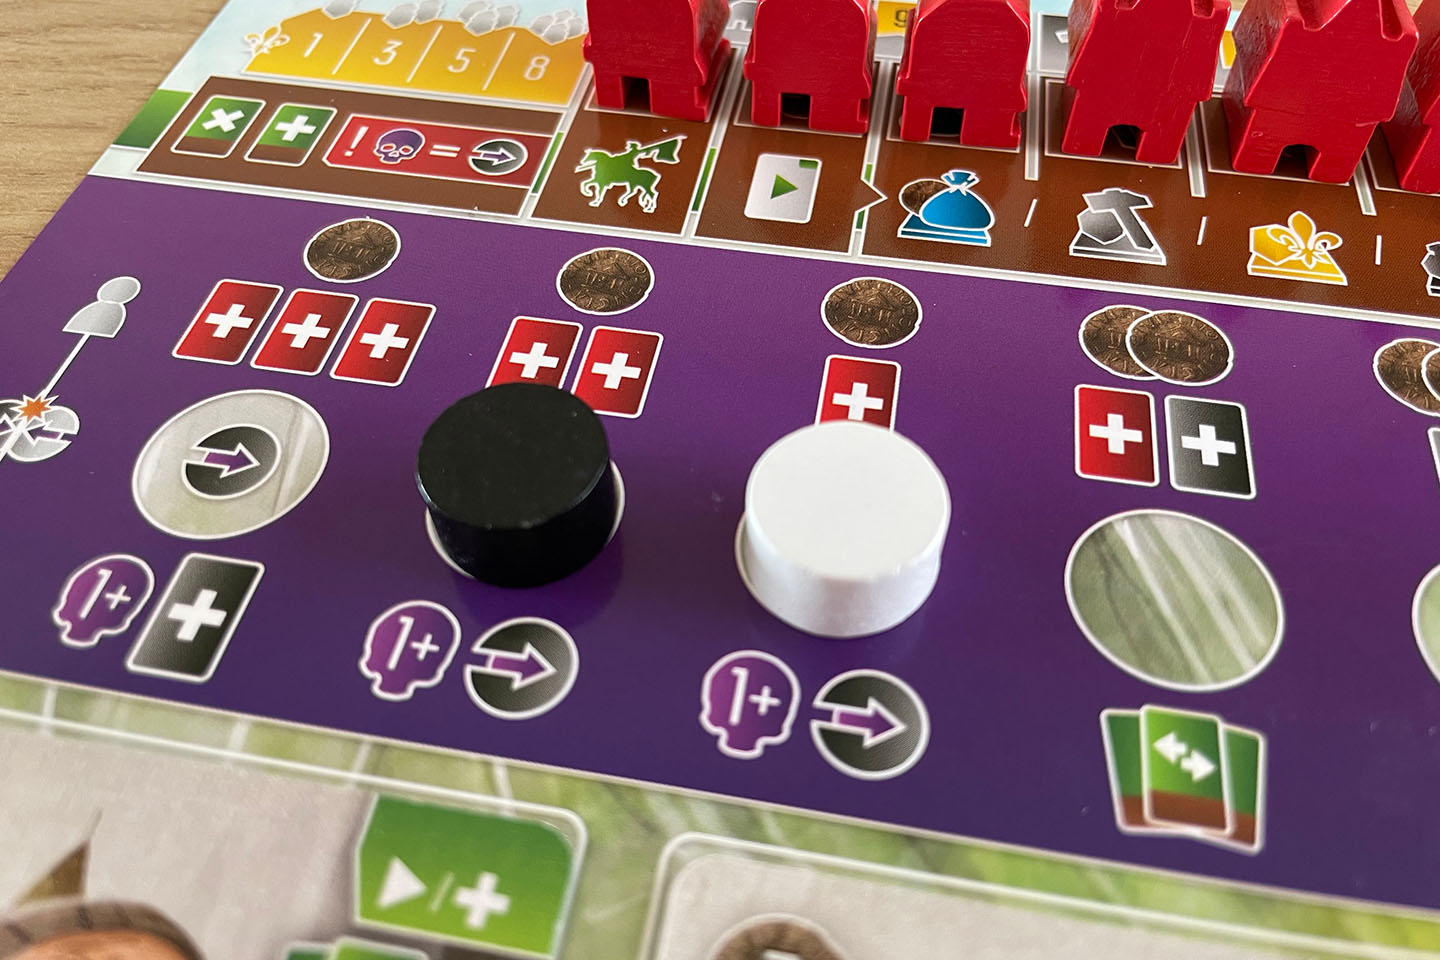
I’ve mentioned virtue and corruption a few times already. Your player board has a track to, well, track your virtue and corruption. You start the game with a black disc (corruption) on the left and a white disc (virtue) on the right. A lot of things in the game cause you to gain virtue or corruption. When that happens you have to slide the relevant disc one spot to the opposite side. If the discs are in the same spot at the end of your turn, you have to resolve this collision of virtue and corruption and put the markers in their starting positions again. Resolving the collision means you get whatever is printed above the spot where your two markers were: coins and either debts or deeds. The other players get whatever is printed below the spot, depending on whether or not they have a criminal icon on their board.
These criminal icons are another interesting aspect of the game. Instead of having an icon related to an action, some cards have one of more criminal icons on them. These count as wild icons when doing an action, which makes them pretty powerful. To balance things out, whenever you play a card with criminal icon to your board, you have to count the number of criminal icons on your board and move your corruption marker that many spots. So unless you have a way to move your virtue marker as well, using a lot of criminals for their flexibility when doing actions will typically also get you a lot of debts because they generate a lot of corruption.
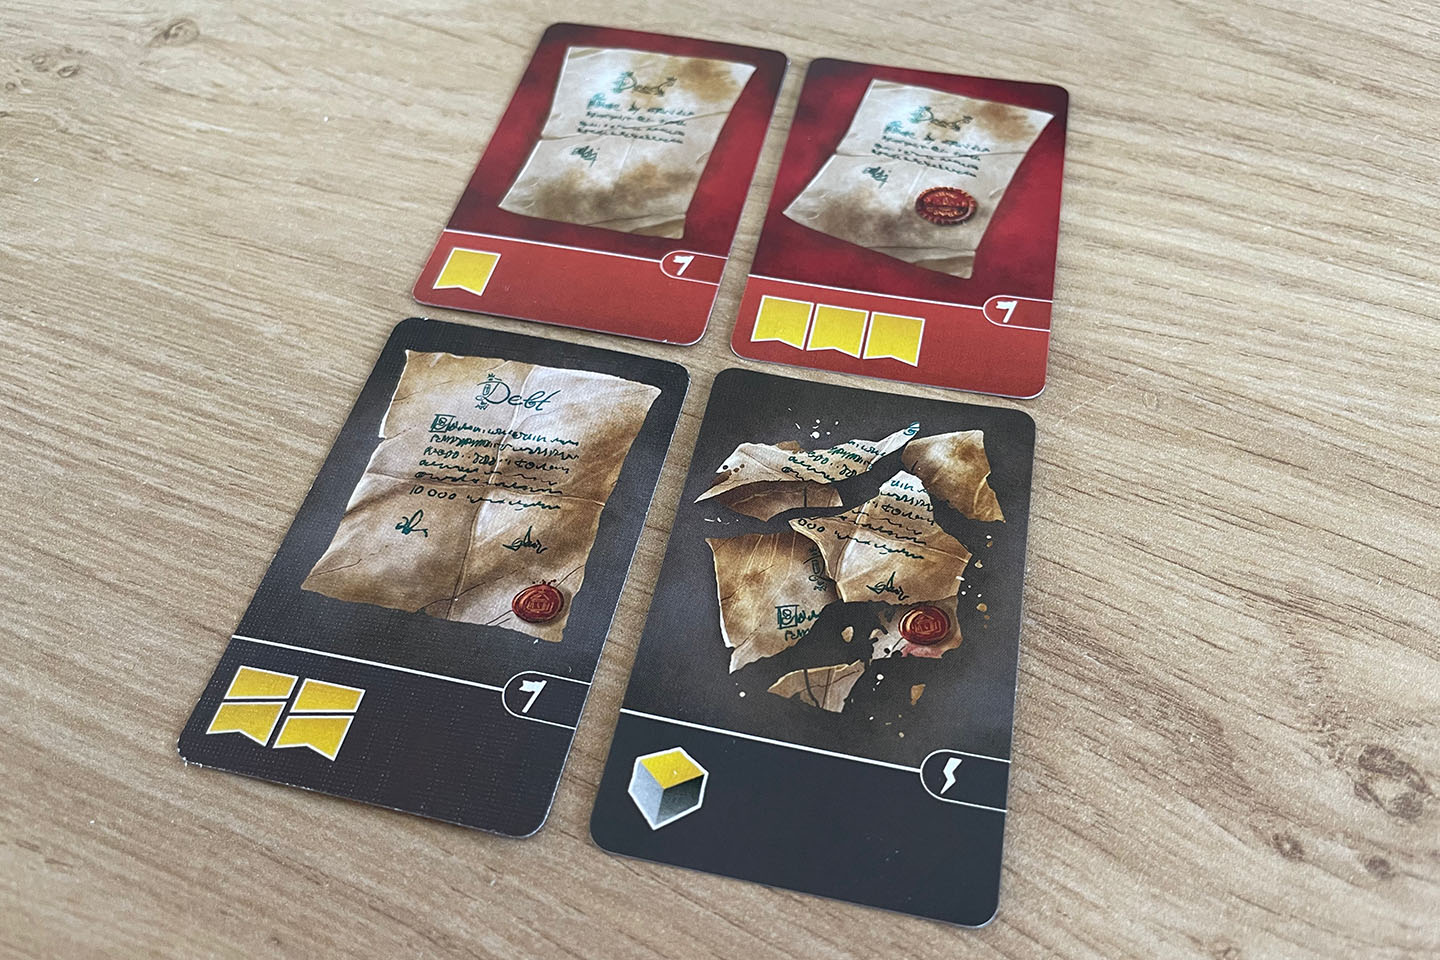
And that brings us to the system of debts and deeds. There are various ways to gain debts and deeds during the game, one of them being the virtue/corruption collisions. There are also various ways to flip debts and deeds you have acquired. Why do you want to flip these cards? Two reasons. Every unflipped debt will cost you two points at the end of the game. When you flip it, you get to take one resource of your choosing and the point penalty no longer counts. Every unflipped deed is worth one point at the of the game, but every flipped deed is worth three! The other reason to flip debts and deeds has to do with the system that triggers the end of the game. In a solo game, you make two small piles of 12 debts and 12 deeds at the start of the game. Whenever one of these piles runs out, the end of the game is triggered and you get to play one final round. If the pile of deeds has run out, the players with the most flipped debts gain extra points. If the pile of debts has run out, the players with the most flipped deeds gain extra points.
How does the AI work?
The AI opponent in Viscounts gets its own player board. There is one on the backside of every regular player board. At first glance all four AI player boards look the same, but they are different. Every AI player board gives the AI a different focus or specialization: constructing buildings, placing workers in the castle, transcribing manuscripts or flipping debts and deeds. This specialization also dictates the AI’s preference for resources. The AI that focuses on constructing buildings for example will prefer stone. Once it has at least six stone, it will prefer gold. Once it has at least 4 gold, it will take ink wells. This is all indicated clearly on the AI player boards.
Apart from a viscount meeple, workers for the castle and buildings, the AI also gets two decks of scheme cards. The first deck, with a brown bar at the top of the cards, is its starting deck. The second deck contains so called future scheme cards and these get added to the starting deck whenever it would normally gain a townsfolk card.
A turn for the AI is pretty simple. Just like on your turn you slide the cards on its board one place to the right. If one drops off the right, it goes into its discard pile. Next you flip the top card from its scheme deck and place that card in the leftmost place on its player board. Then you execute the actions displayed on the card you just added.
Every scheme card contains three actions which you execute from top to bottom. The first one typically lets the AI do something that’s not tied to one of the main actions, like adding a future scheme card, dismissing a townsfolk card from the location of the AI’s viscount or getting some resources. The AI gains the benefits printed in the top right of the dismissed cards just like you do. The second action is moving its viscount the indicated number of spaces. The last part contains one or more actions (construct a building, place workers in the castle, flip a debt, …), possibly with a fallback.
Just like you, the AI needs the correct icons and resources to do its required action. For example, if it wants to build, you count the builder icons on its board and its stone resources, and you use it to construct the most expensive building it can afford.
One of the possible actions you can find at the bottom of a scheme card is the focus action. This means the AI will do the action it is specialized in. It’s this mechanic that allows the same deck of scheme cards to be used by AIs that specialize in different parts of the game.
Because the actions at the bottom also have fallbacks, (e.g. construct a building, or, if that is not possible, flip a debt and gain a virtue), the moves the AI makes, make sense. It all feels believable, as if you’re playing against an actual opponent.
There are some things the AI can’t do. It has no use for coins for example. So whenever it would gain two coins, it takes a resource instead. Or when it would destroy a card, it flips a debt or a deed.
The AI that focuses on constructing buildings is typically considered to be the easiest to beat, the one that specializes in manuscripts the hardest. All AIs have beaten me, and I have managed to win against all of them as well, except against the manuscript AI. So there is challenge as well as variety in the AI opponents.
What does it look and feel like?
Let’s split this up into a few different parts.
The round modular game board with three tiered castle in the middle has very nice table presence. It definitely does not look like your average board game and as far as I’m concerned, it looks really inviting to play.
If you have played any other game by Garphill Games, you will now what the cards feel like. They have a nice linen finish and feature beautiful artwork by Mihajlo “The Mico” Dimitrievski. The only downside is that the cards have this typical Garphill Games size (54x86mm) which makes it difficult to find sleeves that fit nicely. (Paladin Ragnar sleeves or Sleeve Kings North Sea sleeves are the best choice according to The Internet™ when it comes to getting a good fit.)
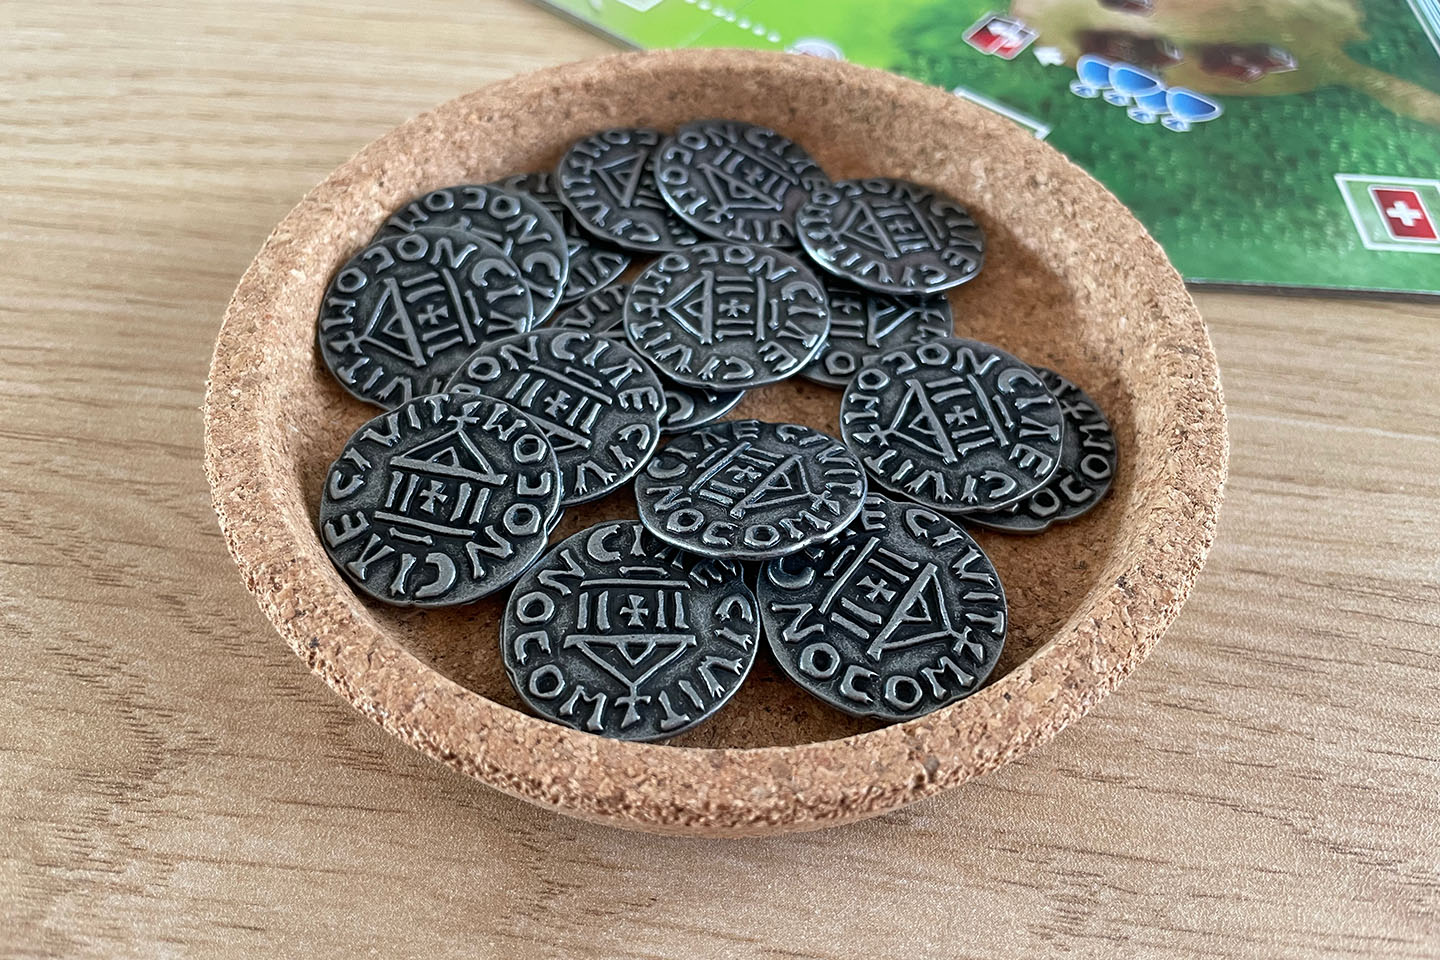
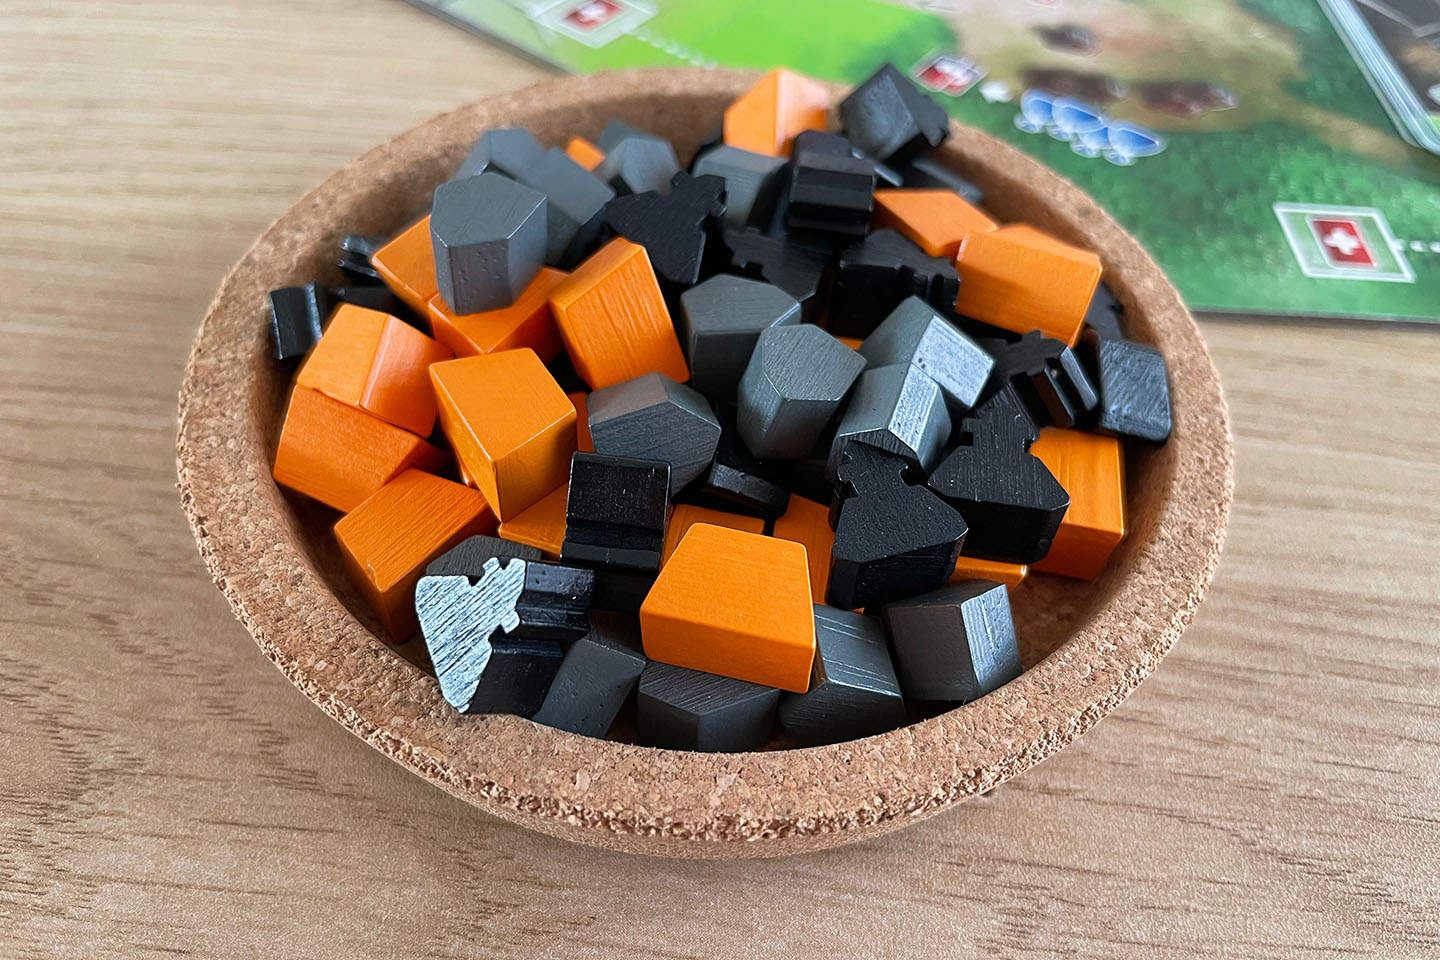
The wooden components are OK. Nothing bad about them, but also nothing special; they’re just OK. The same goes for the cardboard components (the coins and manuscripts). I replaced my cardboard coins with a set of official metal coins and I have to say I am super happy with them.
The player boards are more like thick glossy paper instead of cardboard. The buildings and the virtue and corruption markers maybe slide around a little easily when you bump them, but honestly, it is not really an issue.
The iconography will feel familiar if you have played any of the previous West Kingdom games. Not every icon’s meaning is immediately obvious, but once you know what they mean it all makes sense.
Taking everything into account I would say this game has a good production quality and looks great.
How much time does it take?
Setting up the game takes a while. You need to place nine buildings on specific spots on your player board, and then you need to repeat this for the AI player. You need to prepare five randomized stacks of manuscripts and five shuffled stacks of townsfolk cards. You need to draft a hero and starting resource card and take the starting resources for you and the AI player. You need to prepare a stack of debts and deeds of a specific size. All this easily takes 10 minutes.
According to the box a game takes about 60 to 90 minutes. I think that time is aimed at a game with multiple players, but in my case it holds for the solo game as well. I like to take my time thinking about my turn and possibly the next turn as well, so maybe my solo games take a bit longer than average.
All in all, including setup and teardown, I would say a game takes me about 90 minutes.
What is my verdict?
There is a lot to like here. I really enjoy the different strategies you can explore in this game. Will I focus purely on constructing buildings this time? And if so, in which order will I build them and on which locations? Or maybe I’ll have the castle as my main focus while also trying to grab a few beneficial manuscripts along the way? Can I take advantage of adding criminals to my deck?
There really is a lot to do here and because there is a lot of randomization during setup (the board itself, the stacks of townsfolk cards, the stacks of manuscripts, the hero and starting resources, …), it keeps things fresh and interesting every game.
What I also like in this game is how you really need to think at least one turn ahead. You need to think about where you are on the board and where you want to be in two turns. You need to think about which action you want to do in those two turns and which cards and/or resources you will need for that. It is a delightful puzzle of efficiency, planning and optimization.
Another thing I really like, and I’ve touched on that above, are the excellent AI opponents. The variety they offer because of the different strategies they follow and the challenge they offer also helps with keeping things interesting. They could dismiss that townsfolk card you wanted to grab. They can bump you from the castle. They can transcribe that manuscript you had your eyes on, giving them a set of three black manuscripts, giving them the cleric bonus card, making their future manuscript actions even stronger. The fact that the AI’s turns are super easy to manage makes it even better. You can really focus on your own game.
While there is a lot that you can do and there are a lot of things that trigger other things, it doesn’t really feel overwhelming. The clear iconography is a big help here. Once you know what the icons mean they totally make sense. The only downside here is that the rule book isn’t super clear when it comes to some of the AI iconography on the player boards. I’ve had to look up a few things here and there on BGG and judging by the threads in the rules forum, I’m not the only one. Once you know what they do, you’ll remember it because like I said, there is sense to them. But not all icons are clear enough that you can infer their meaning.
Apart from the rule book that could be clearer, I can’t think of anything bad about this game. It holds a firm place in my top 3 of solo games and it will not be easy get it out of there.
Score
To make things easier for myself, I use the same scoring categories Board Game Geek uses.
Comments
I'm sorry, I don't support comments on my website. If you want to discuss the game or my review, feel free comment on this dedicated Instagram post or my review on BGG.